Documentation
Help & Guides
Everything you need to get the most out of OutboundHQ — from setting up your team to launching your first campaign.
Overview
OutboundHQ is an all-in-one outreach platform. This guide walks you through the key areas of the product so you can get up and running quickly.
Teams
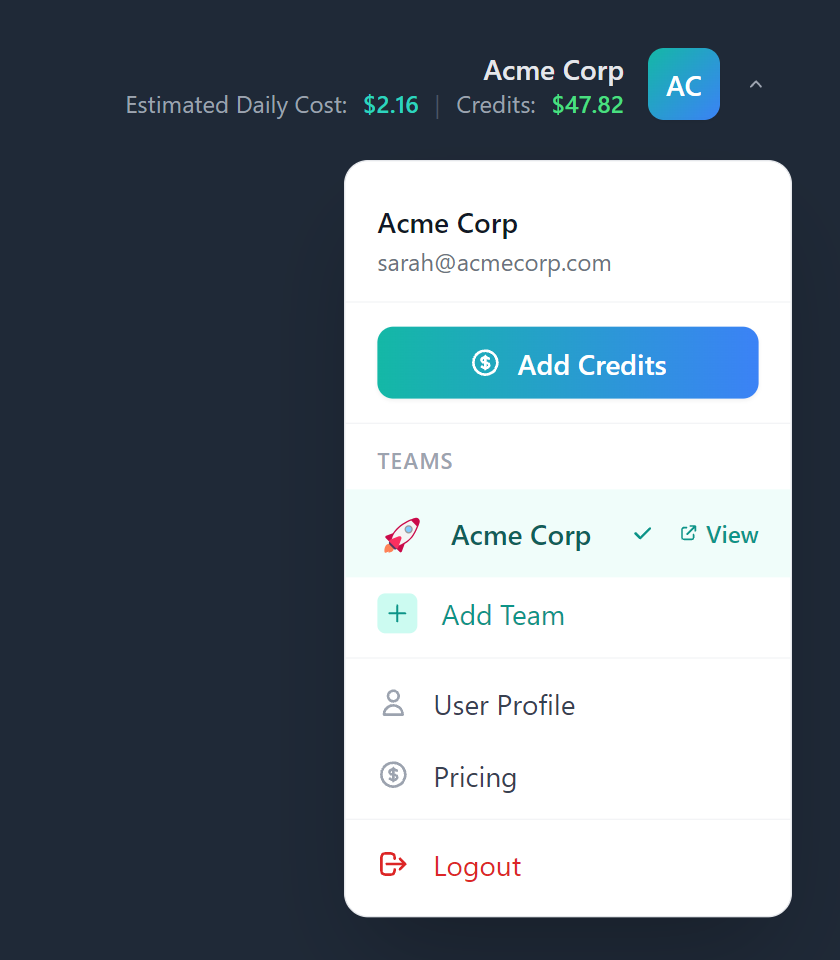
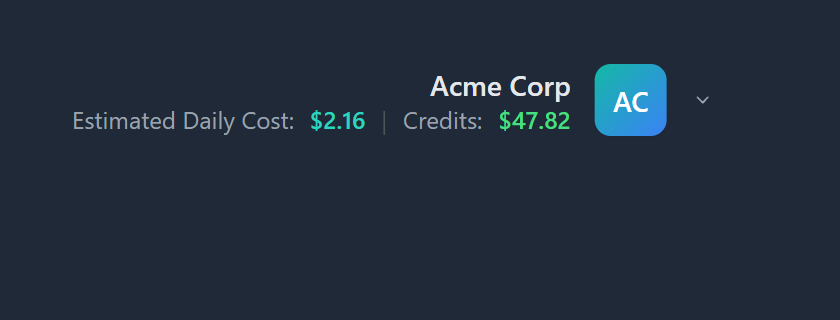
The Team panel (top-right corner of the dashboard) is your control centre. From here you can invite collaborators, manage permissions, view your credit balance, and monitor your daily estimated spend.
Credits
OutboundHQ uses a simple pay-as-you-go credit system. Every action that costs money (AI generation, email sends, SMS, Reddit listeners) deducts from your credit balance at the actual underlying cost — no mark-up, no monthly seat fees.
| Action | Cost (CAD) |
|---|---|
| Standard campaign post (caption + Flux image) | ~$0.13 |
| HD campaign post (caption + Ideogram image) | ~$0.53 |
| Outreach email send (via AWS SES) | $0.001 |
| SMS message (per 160-char segment, Twilio) | $0.079 |
| Twilio phone number rental | $11.50 / month |
| Reddit listener | $2.16 / day |
| AI inbox reply (Claude Haiku 3.5) | ~$0.01 |
Channels & Integrations
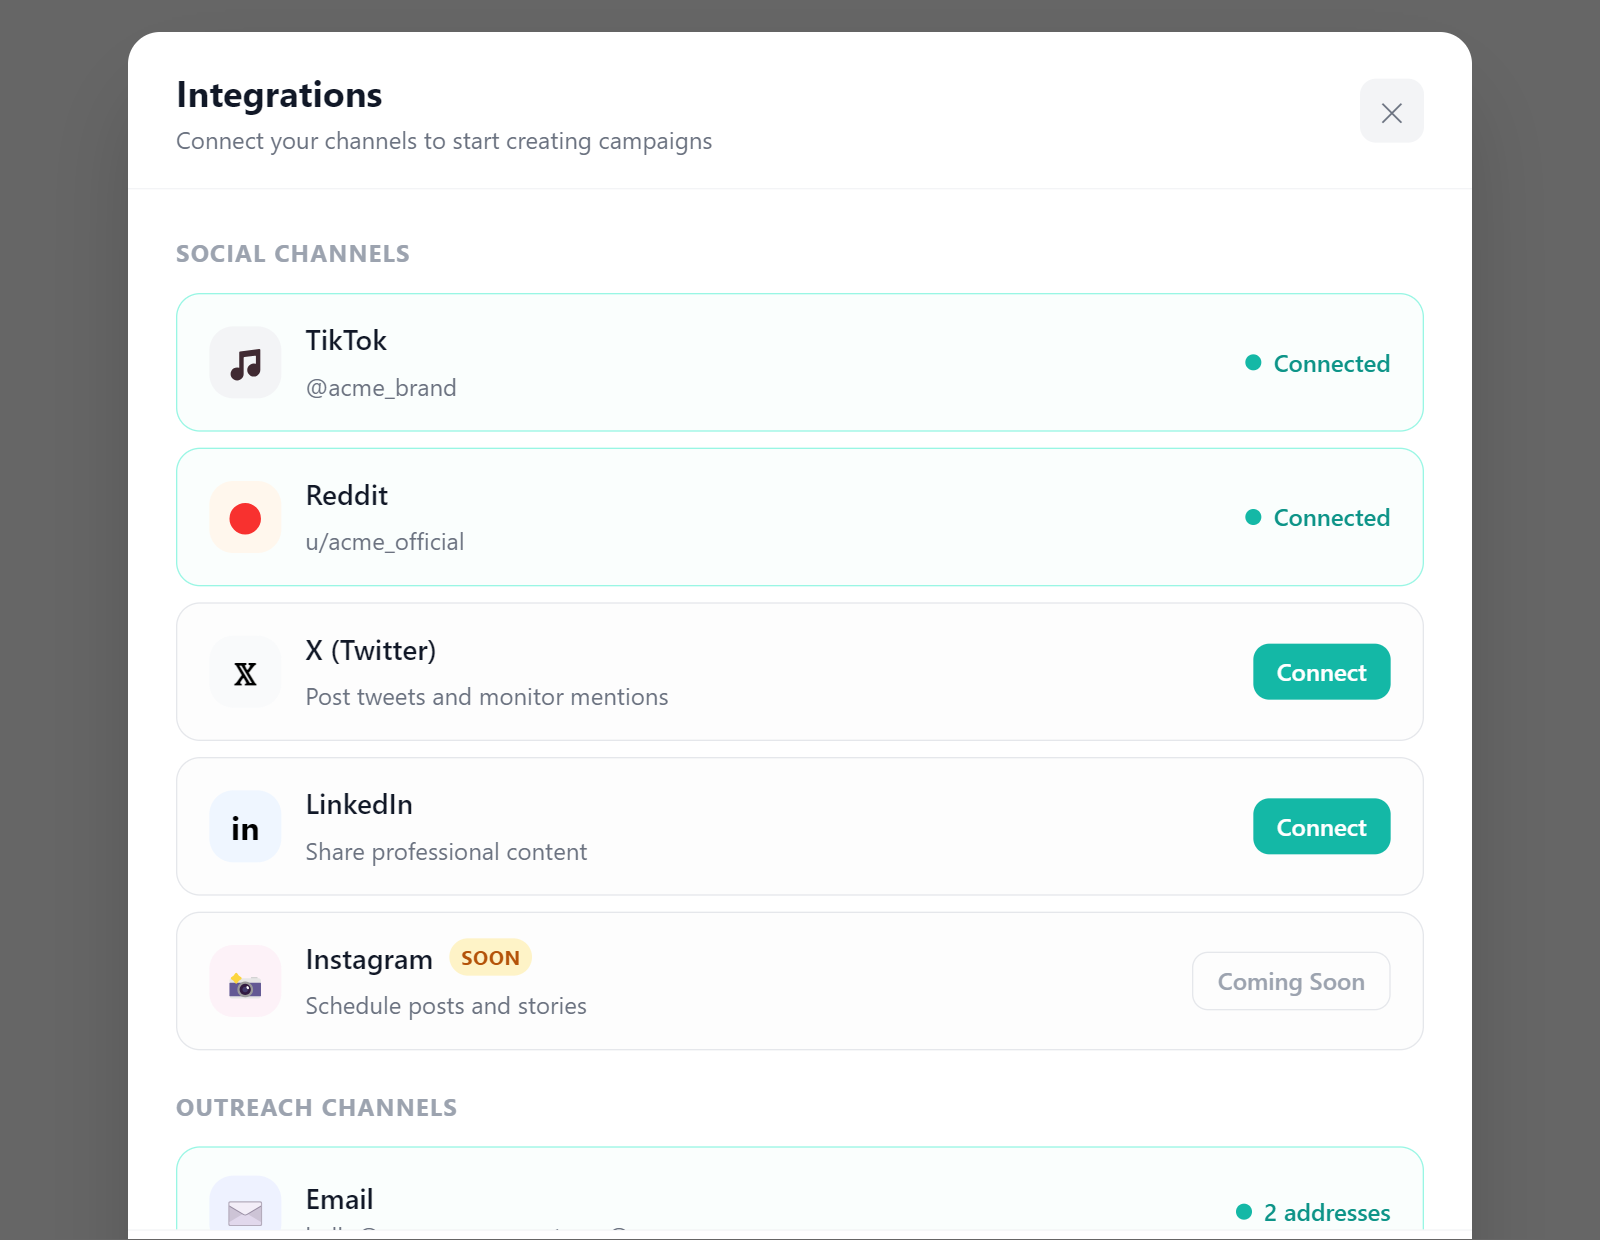
Connect your social and communication accounts from the Integrations modal (accessible from the profile dropdown or navigation bar). Each connected channel unlocks the corresponding features in Campaigns, Inbox, and Listeners.
Schedule posts, track analytics, and run campaigns.
Run listeners, auto-reply to comments, and schedule posts.
Schedule tweets and manage replies from inbox.
Post updates and track campaign engagement.
Send outreach emails via AWS SES from a verified sender.
Rent a number and send / receive SMS messages.
Posting and inbox management — in development.
Comment management and analytics — planned.
Connecting Email
Email setup is two steps: first verify your domain via DNS, then add individual sending addresses on it. Both are done from Integrations → Email.
Part 1 — Verify your domain
Open Integrations
Click your team avatar in the top-right nav and select Integrations, then scroll to the Email section.
Add your domain
Under Verify Domain, click Add Domain. Enter your root domain (e.g. yourdomain.com) and confirm.
Copy the CNAME records
OutboundHQ generates three DKIM CNAME records. Copy the host and value for each one.
Add records to your DNS provider
Log in to your DNS provider (Cloudflare, Route 53, GoDaddy, Namecheap, etc.) and add each CNAME record exactly as shown. Propagation typically takes a few minutes to a few hours.
Confirm verification
Back in Integrations, click Pending DNS next to your domain. OutboundHQ re-checks the records live — once all three resolve the status changes to Verified.
Part 2 — Add a sending address
Click Add Address
In the same Email section, click Add Address under Add Addresses.
Enter the address and display name
Type the full address (e.g. hello@yourdomain.com) and optionally a From Name that recipients will see (e.g. Sarah at Acme).
Click the verification link
AWS SES sends a confirmation email to that address. Click the link inside it. The address status in Integrations updates from Pending to Verified.
Start sending
The verified address now appears in the From selector in the Send Message modal and in the campaign channel picker.
Features
A full breakdown of what OutboundHQ supports across every connected channel, plus an overview of the built-in CRM.
Features by Platform
Tap any checkmark for platform-specific details. Greyed items are coming soon.
Analytics
Event Analytics
Per-event metrics: impressions, engagement actions, and delivery stats captured each time an event fires.
Campaign Analytics
Aggregate stats rolled up across all posts in a campaign: total reach, engagement rate, and funnel metrics.
Campaigns
Post via Calendar
Schedule posts to exact date/time slots using the drag-and-drop campaign calendar.
AI Campaign Generation
AI writes the copy, generates images, and builds a complete campaign ready to publish — from a single brief.
Event Triggers (auto comment/DM)
Automatically comment on or DM users when a keyword or engagement event is detected — no manual action needed.
Inbox
Replies
Manage all inbound replies from every connected channel in a single unified inbox.
DMs
Read and reply to direct messages from supported platforms in one place.
AI Auto Reply
AI reads the conversation context and fires a brand-voice reply automatically — no human needed.
Custom Webhook Reply
Route incoming messages to your own server and use the response as the reply — full control over reply logic.
Email Agent
Email Agent
Autonomous agent that drafts, personalises, schedules, follows up, and tracks entire outreach sequences end-to-end.
| Feature | Email | Instagram | LinkedIn | Reddit | SMS | TikTok | X | YouTube |
|---|---|---|---|---|---|---|---|---|
| Analytics | ||||||||
Event Analytics Per-event metrics: impressions, engagement actions, and delivery stats captured each time an event fires. | — | — | ||||||
Campaign Analytics Aggregate stats rolled up across all posts in a campaign: total reach, engagement rate, and funnel metrics. | — | — | ||||||
| Campaigns | ||||||||
Post via Calendar Schedule posts to exact date/time slots using the drag-and-drop campaign calendar. | — | — | ||||||
AI Campaign Generation AI writes the copy, generates images, and builds a complete campaign ready to publish — from a single brief. | — | — | ||||||
Event Triggers (auto comment/DM) Automatically comment on or DM users when a keyword or engagement event is detected — no manual action needed. | — | — | — | — | — | — | — | |
| Inbox | ||||||||
Replies Manage all inbound replies from every connected channel in a single unified inbox. | — | — | — | — | ||||
DMs Read and reply to direct messages from supported platforms in one place. | — | — | — | — | — | — | — | |
AI Auto Reply AI reads the conversation context and fires a brand-voice reply automatically — no human needed. | — | — | — | — | — | — | — | |
Custom Webhook Reply Route incoming messages to your own server and use the response as the reply — full control over reply logic. | — | — | — | — | — | — | — | |
| Email Agent | ||||||||
Email Agent Autonomous agent that drafts, personalises, schedules, follows up, and tracks entire outreach sequences end-to-end. | — | — | ||||||
Leads CRM
OutboundHQ includes a built-in CRM. Manage contacts, companies, and pipeline without leaving the platform.
People
Store and enrich contact records. Tag, filter, and segment leads across all your outreach channels. Attach notes, activity history, and social handles.
Companies
Organise contacts under company records. Track company-level engagement and link multiple stakeholders from the same account.
Deals
Pipeline management with stage tracking. Associate deals with contacts or companies and monitor value and close-date.
Leads
The Leads tab is your built-in CRM. Manage contacts, organise them under companies, track deals through a pipeline, and launch outreach — all without leaving OutboundHQ.
Adding a Lead
Create a new contact record from the People sub-tab. An inline form appears directly in the table — fill in the basics and hit Add.
Open the Leads tab
Click Leads in the main navigation bar to open the CRM.
Click “+ Add Lead”
The + Add Lead button sits in the toolbar above the People table. Clicking it expands an inline form row directly below the toolbar — no modal opens.
Fill in contact details
Enter the contact's first name, last name, email, phone, and job title. These fields are used when launching outreach.
Set a company
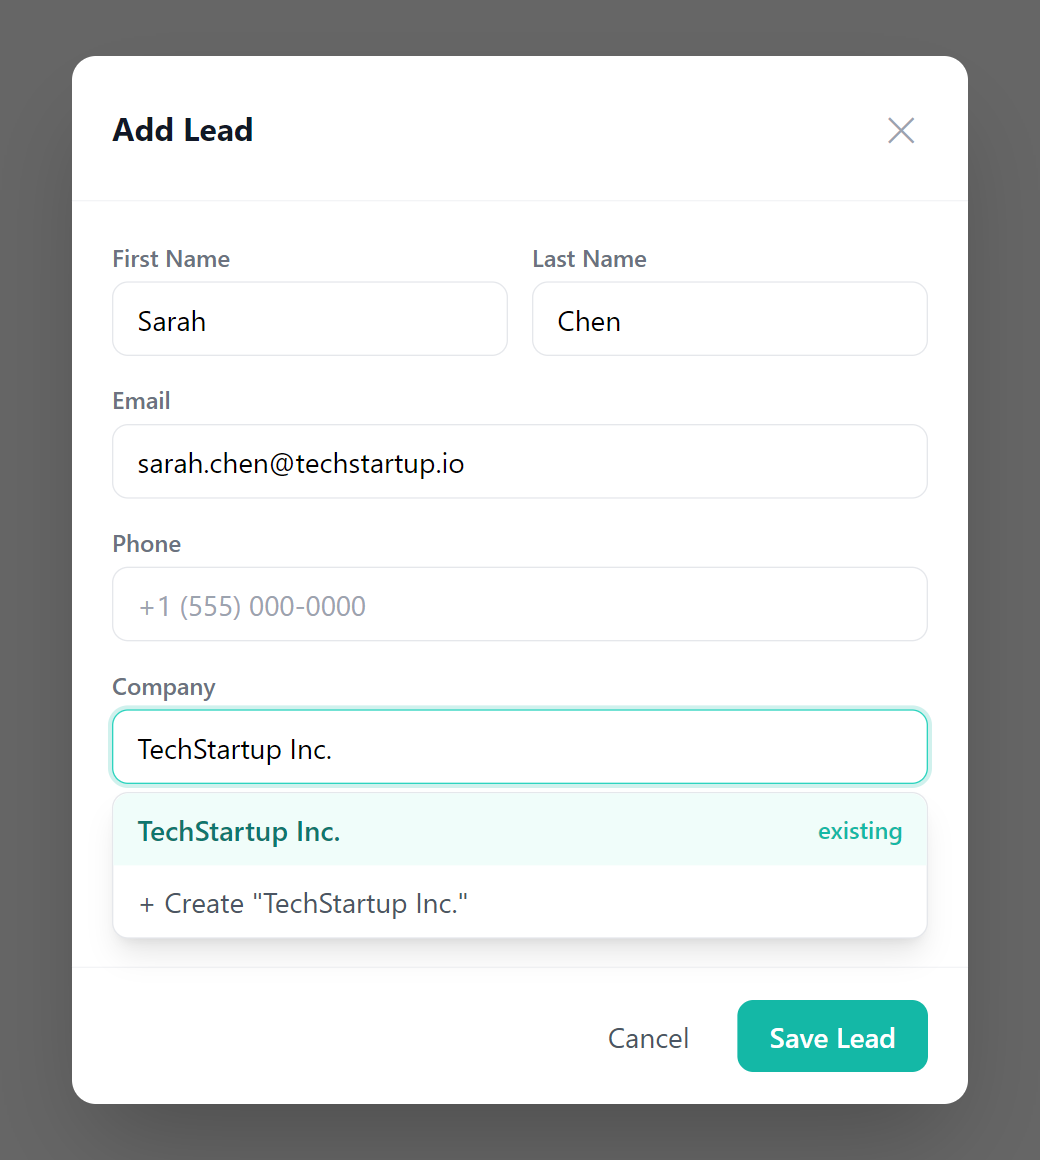
Start typing a company name in the Business field. Existing companies appear as autocomplete suggestions — select one to link the contact. If the name you typed doesn't match any existing company, a checkbox labelled “Also create [name] as a company” appears below the field.
Assign an owner (optional)
The Contact Owner field is hidden by default. It appears only if your team has more than one member and the column is enabled in your field settings. Use it to assign the lead to a specific team member.
Click Add
Click Add to create the record. The lead appears in your People list immediately and is ready for outreach.
Companies
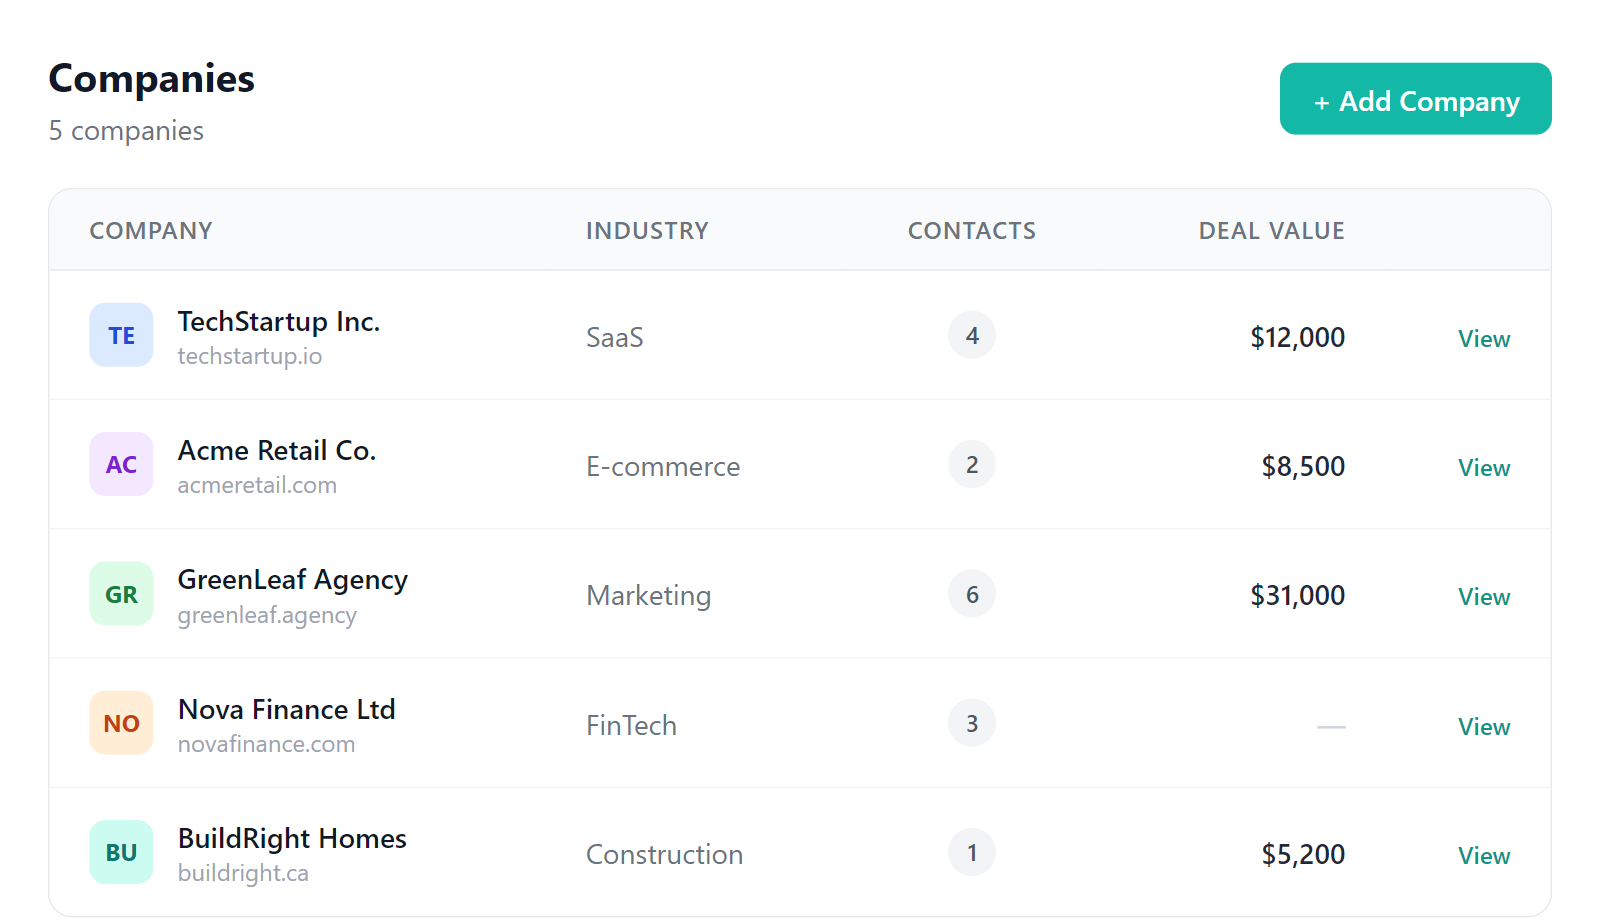
The Companies sub-tab lists every company in your CRM. Click a company to see all contacts associated with it, active deals, and a notes log.
Deals
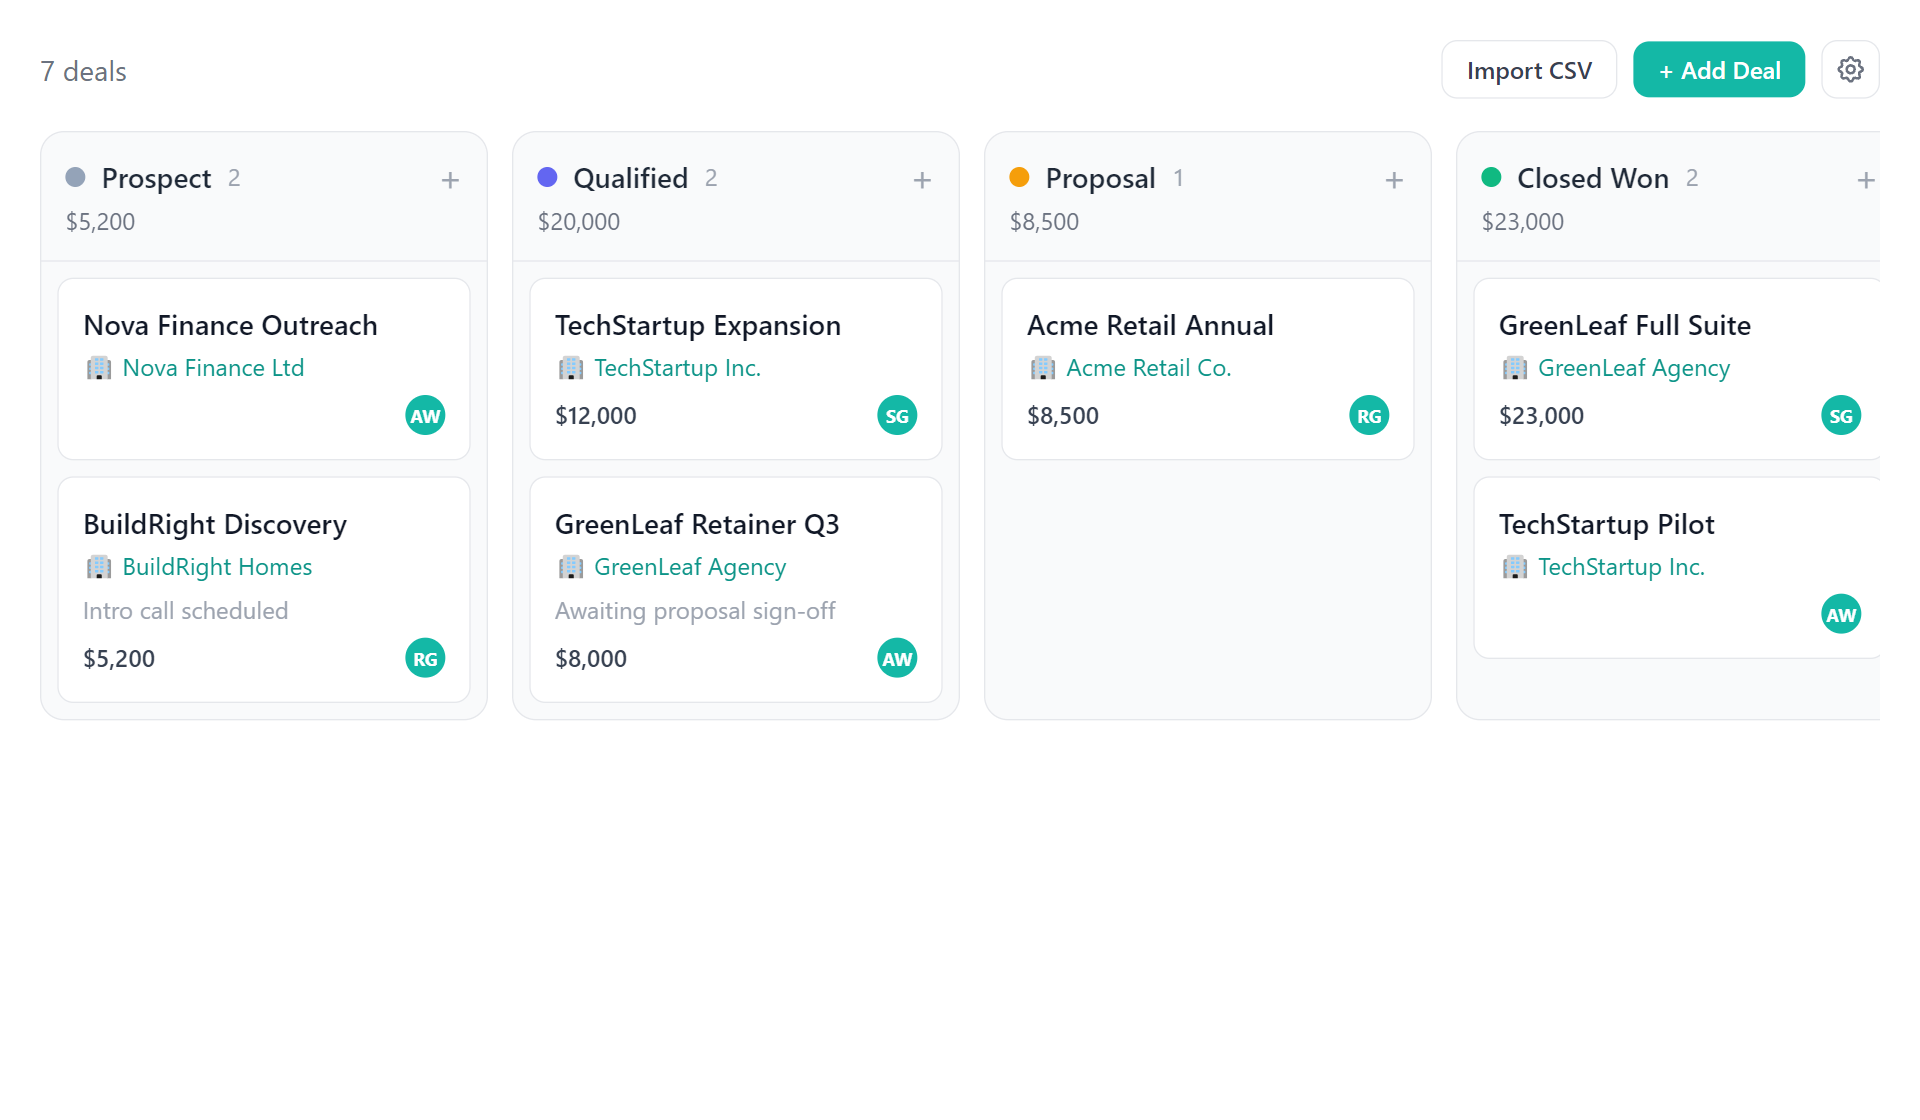
Track opportunities through a Kanban-style pipeline in the Deals sub-tab. Each deal can be linked to a contact or company, assigned a value, and given a close-date target.
Sending a Message to a Lead
You can send a one-off email or SMS to any contact directly from their record — no campaign required. This is ideal for warm follow-ups or quick personalised messages.
Open the contact
Find the lead in the People list and click their name to open the contact detail panel on the right side of the screen.
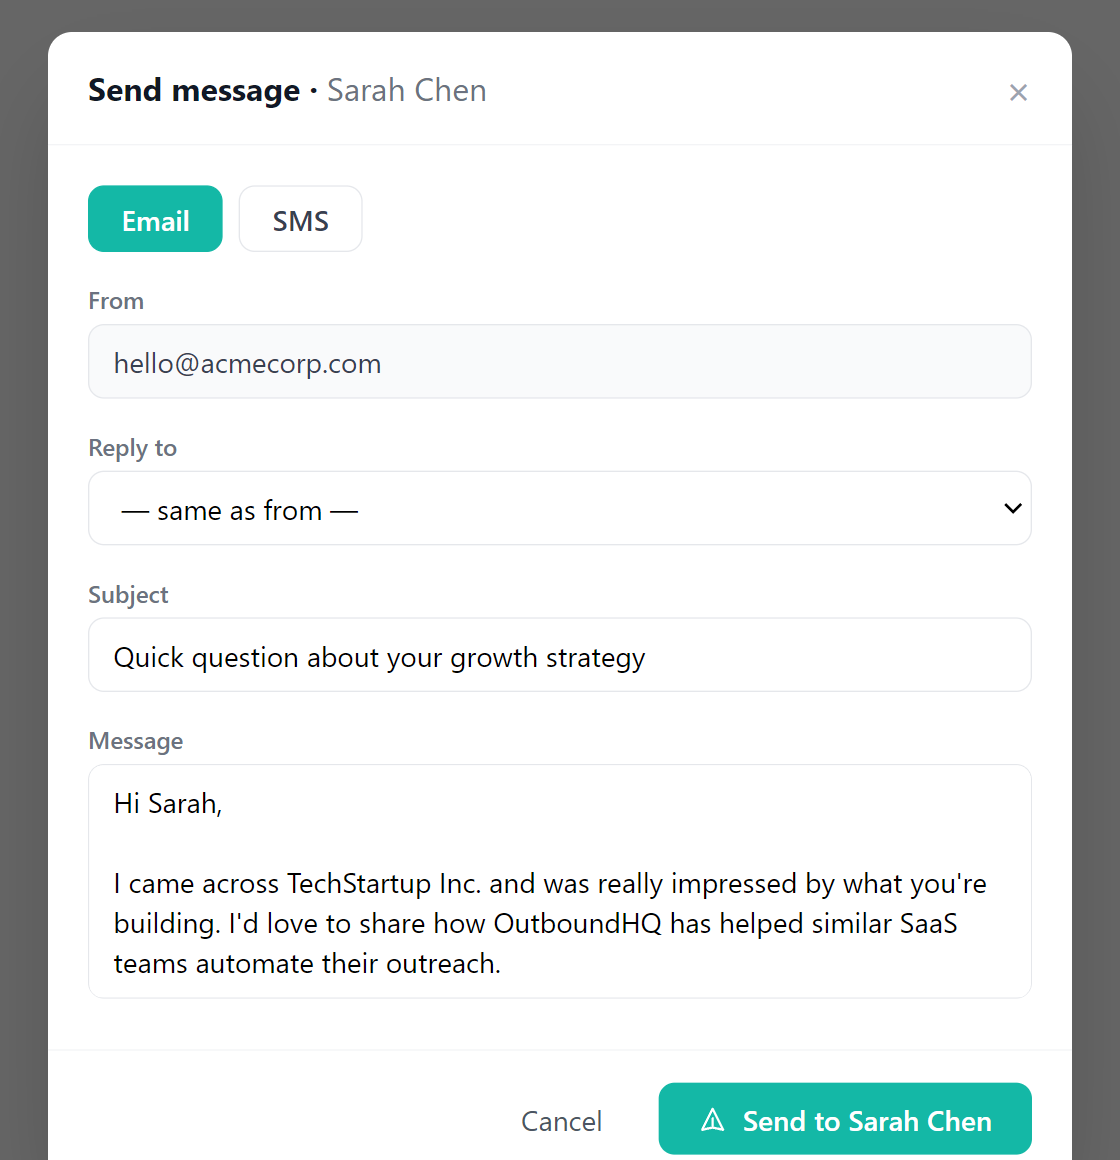
Click “Send Message”
The Send Message button appears in the lead's detail panel. Clicking it opens the Send Message modal.
Choose a channel and sender
Select Email or SMS. For email, choose a verified sender address from the From dropdown and optionally set a Reply-To address. For SMS, select your Twilio number.
Add a subject and write your message
For email, enter a Subject line, then type your message in the body area. For SMS, just type the message text.
Send
Click Send to [contact name]. The message is dispatched immediately.
Where Emails Come In
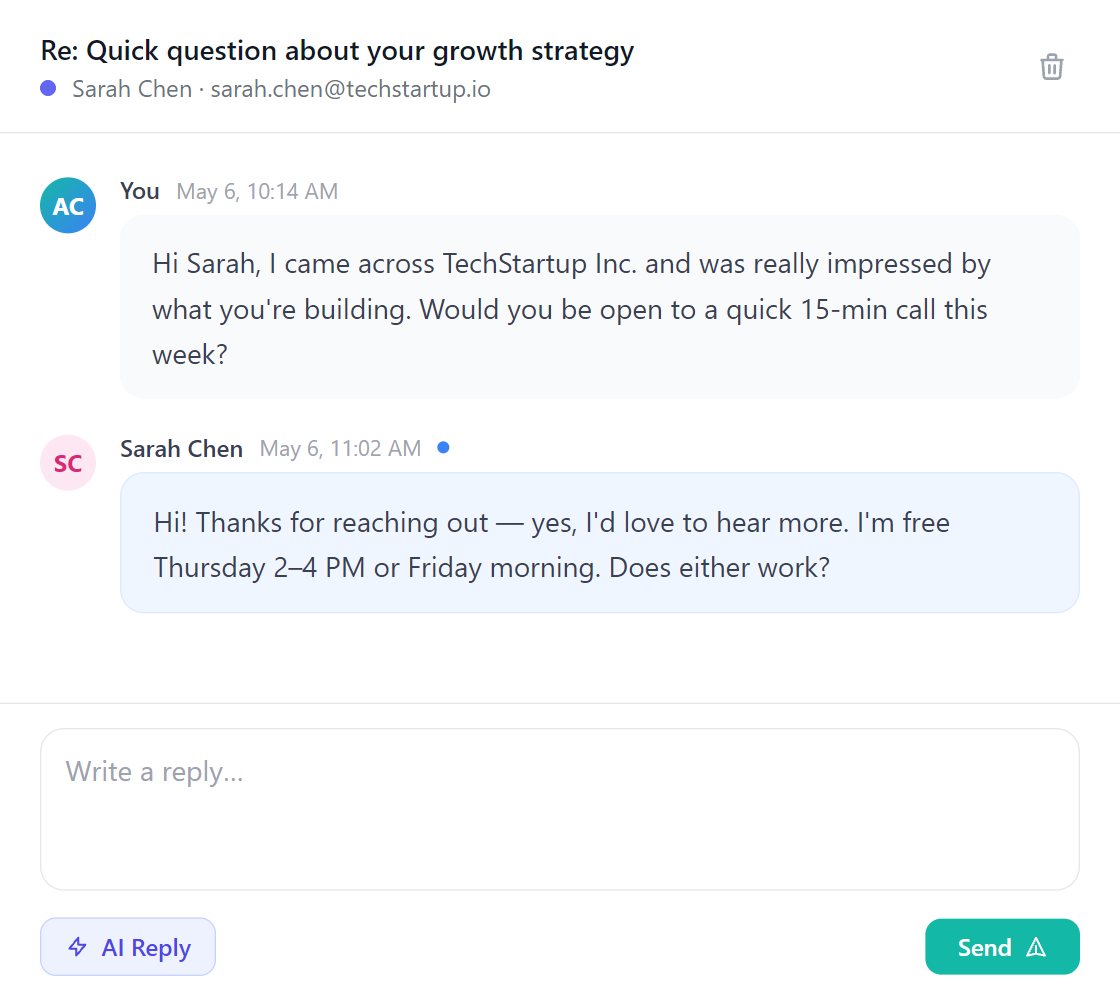
Replies to messages you send from the Leads tab arrive in the Inbox. They are automatically threaded under the originating contact so you have full conversation context without leaving the app.
Inbox
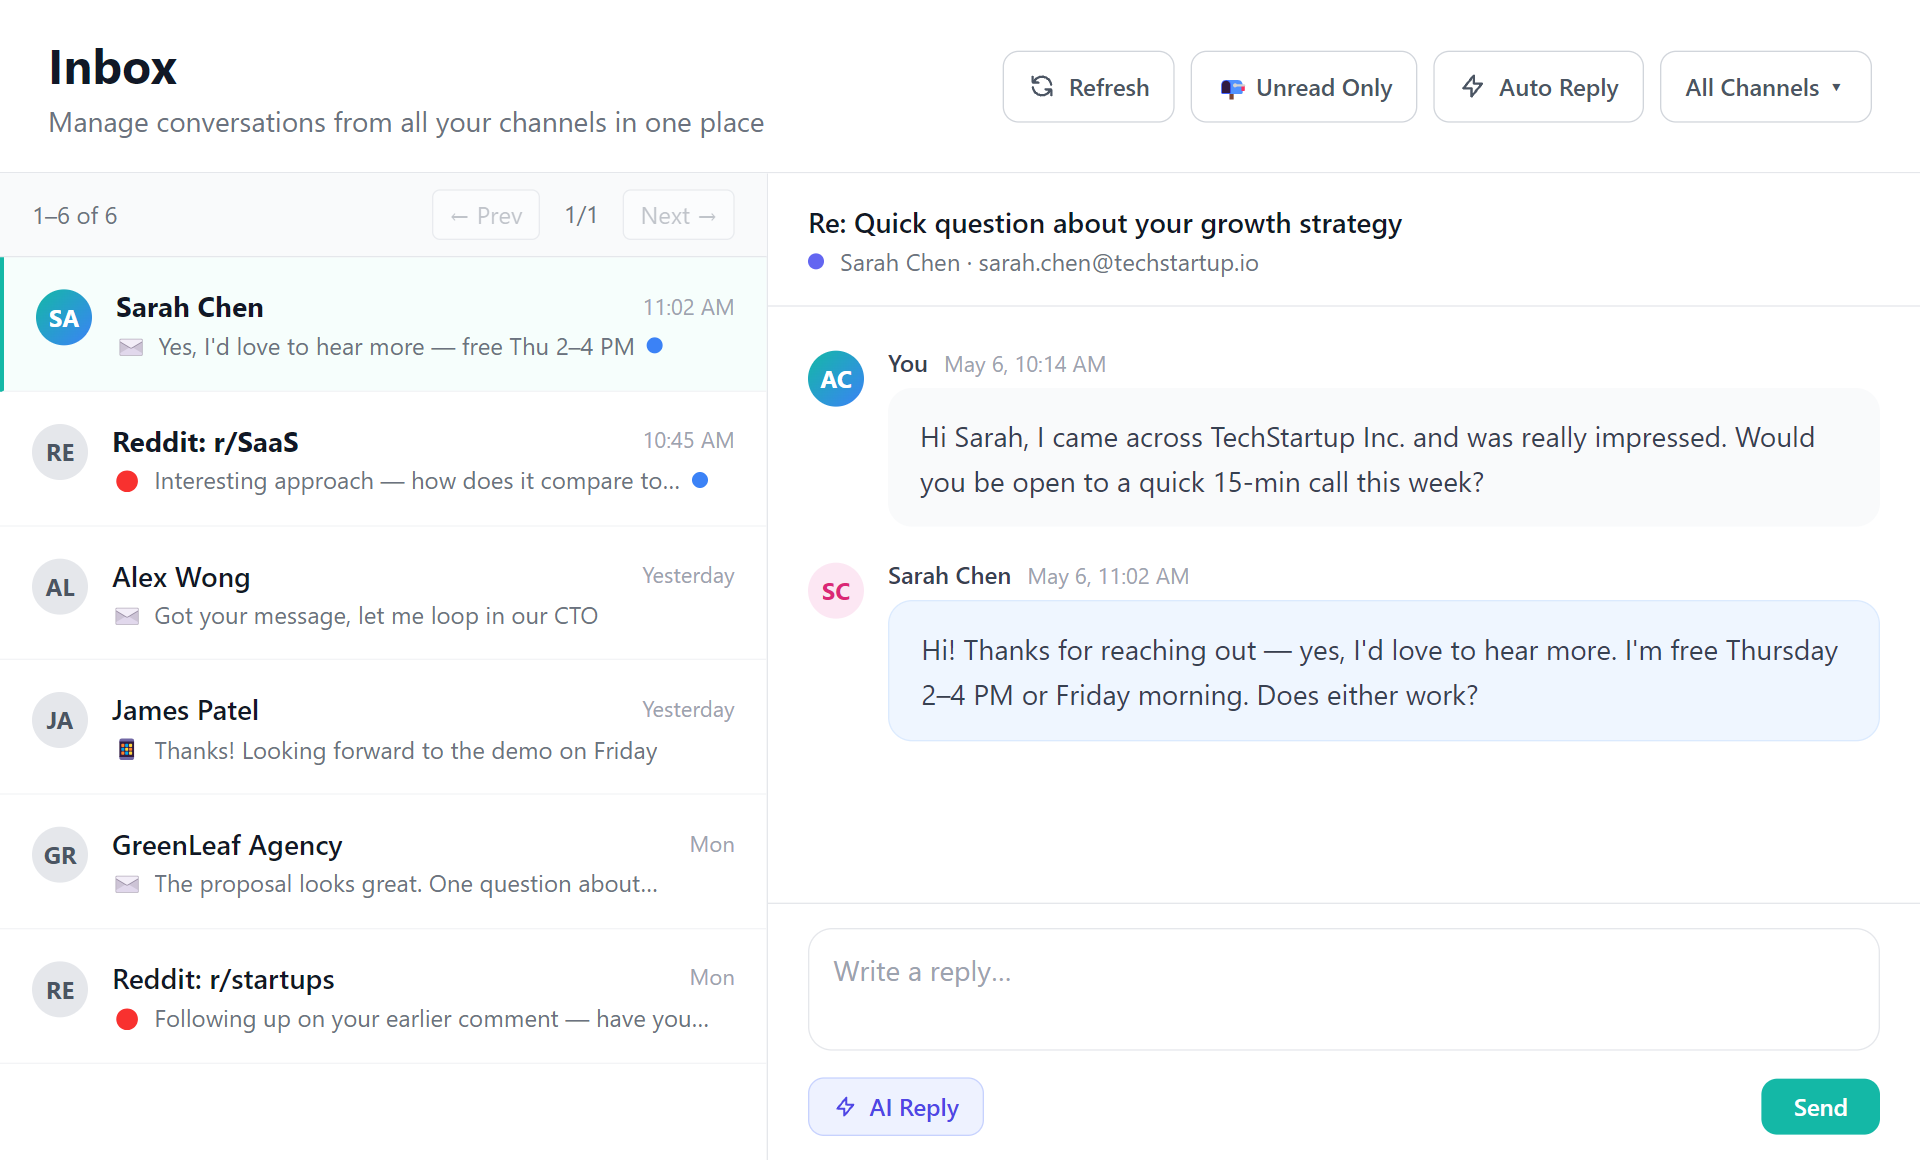
The Inbox tab is a unified view of all inbound messages across every connected channel — email replies, Reddit DMs, TikTok comments, and more — in a single feed.
Viewing Emails
When you open the Inbox you'll see a chronological list of conversations. Click any thread to expand the full message history. Unread messages are highlighted with a coloured indicator.
Filtering
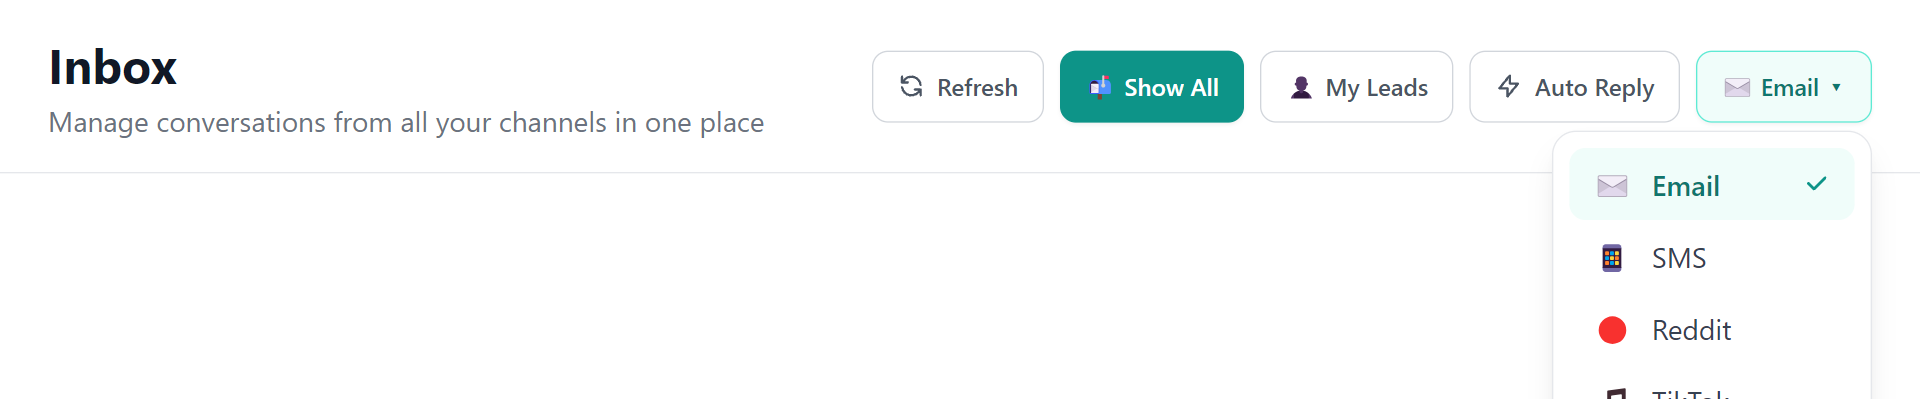
Use the filter controls at the top of the Inbox to narrow down which messages you see.
Responding to Emails
Reply to any message directly from the Inbox — no need to switch to your email client.
Open a thread
Click a conversation in the thread list to open it in the right panel.
Type your reply
The reply composer sits at the bottom of the thread. Click inside it to start typing.
Use AI to draft a reply (optional)
Click AI Reply to have OutboundHQ generate a context-aware response based on the conversation history and your brand voice settings.
Send
Press Send or hit Cmd + Enter. The reply is sent via the same channel as the original message.
Email Campaigns
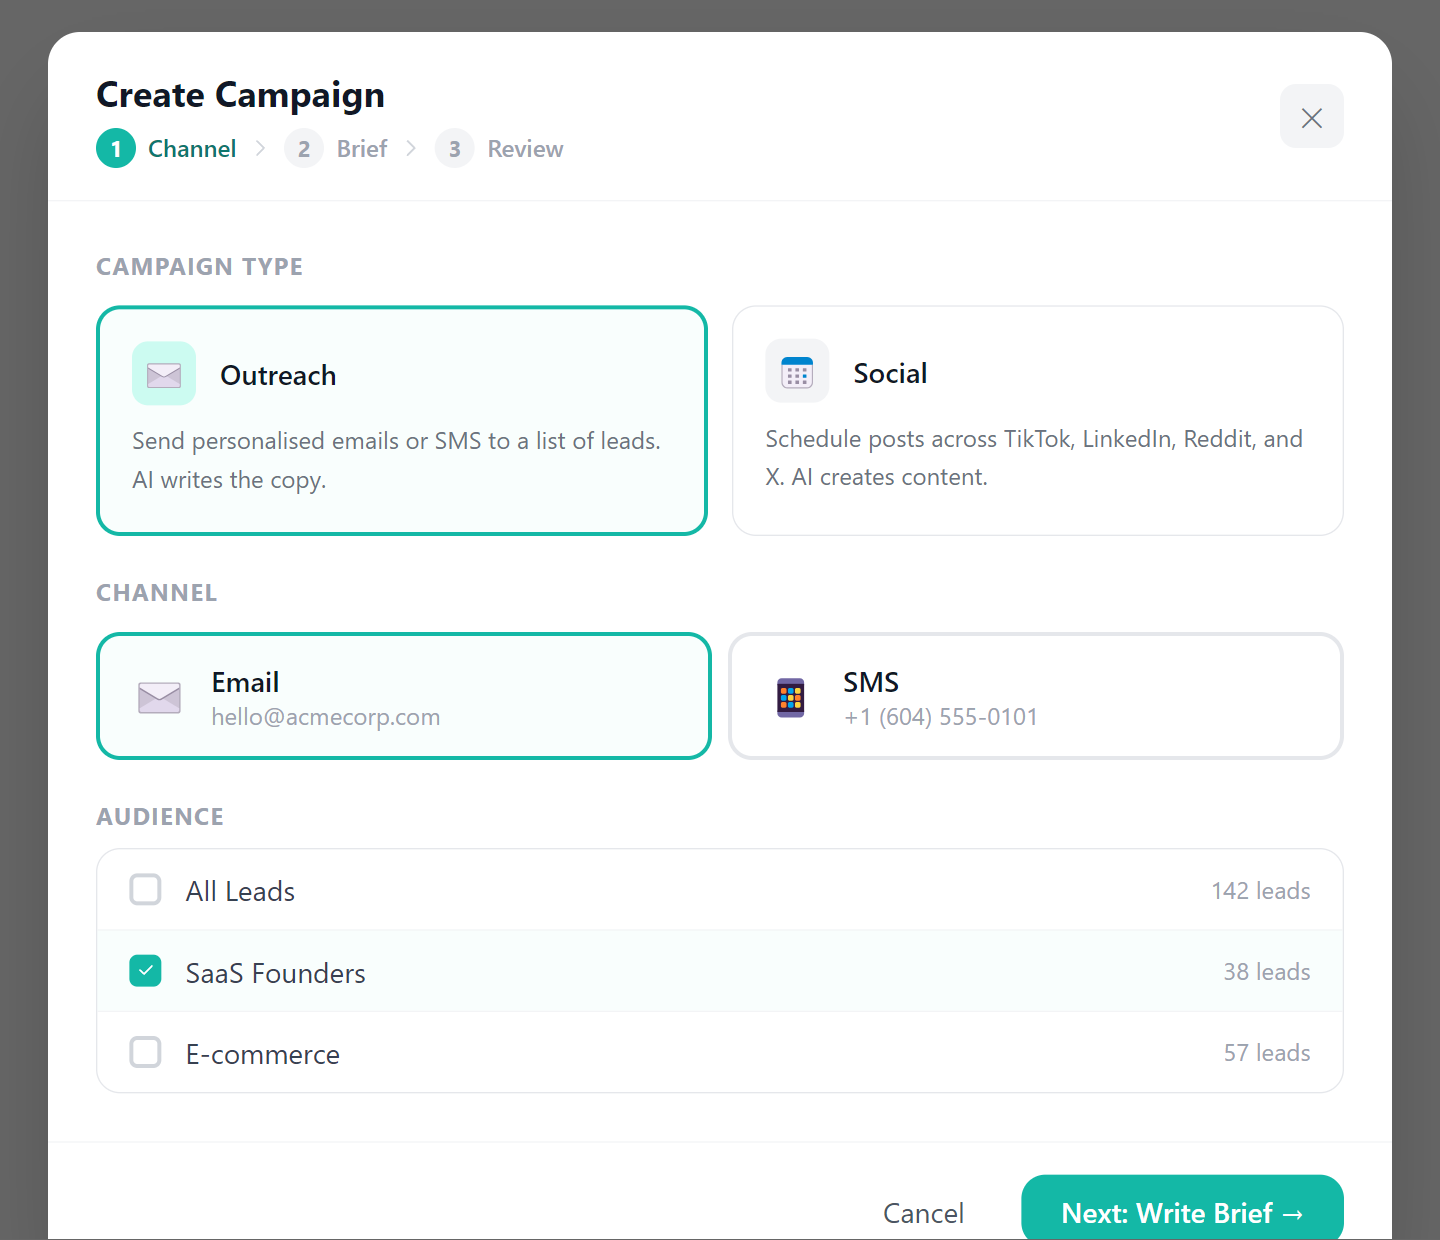
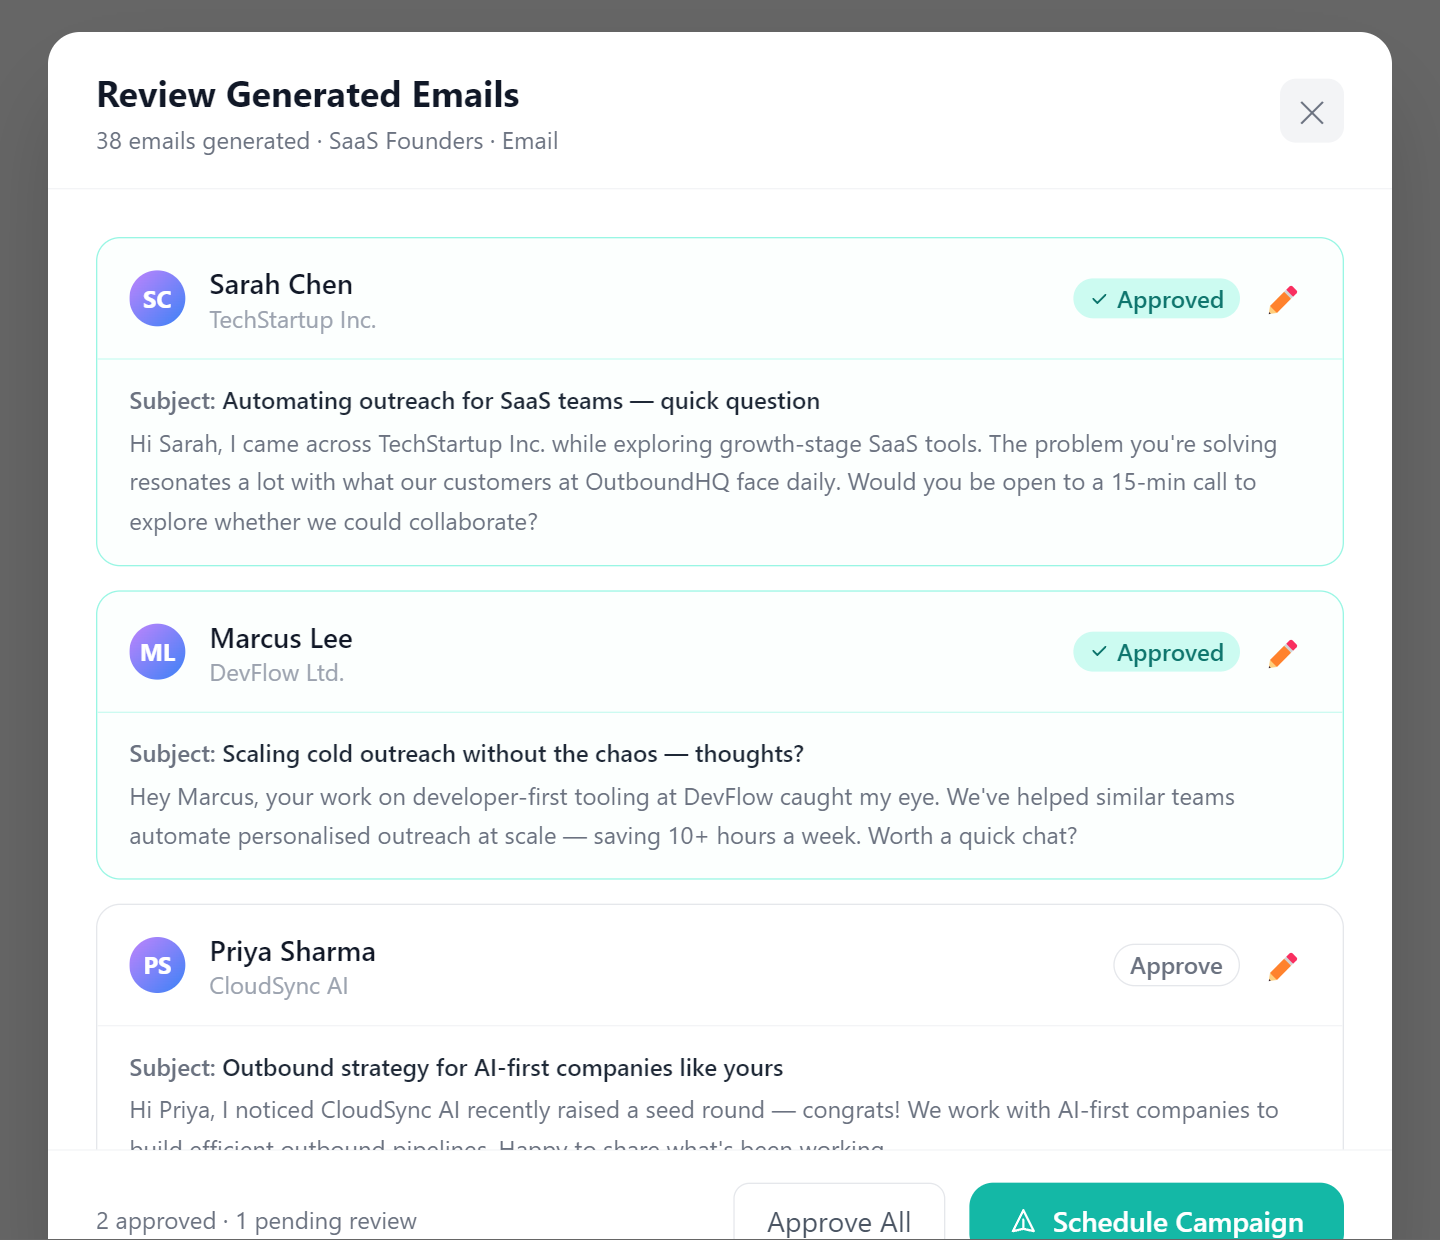
Email campaigns let you send personalised outreach sequences to a list of contacts. The AI handles copy generation, personalisation, and scheduling — you just review and launch.
Creating an Email Campaign
The campaign wizard is two steps. After the second step OutboundHQ generates outreach in the background and takes you straight to the campaign detail page.
Step 1 — Campaign setup
Open Campaigns
Click Campaigns in the navigation bar, then select New Campaign in the top-right.
Name your campaign
Enter a campaign name in the Campaign Name field.
Choose campaign type
Select Social Media Accounts (target by social account handles) or Lead Lists (SMS/Email) (target contacts from your CRM leads). For an email campaign, choose Lead Lists.
Select channels
Toggle on Email (and/or SMS). You must have a verified sending address for email — if none is set up you'll see a “No verified domain added” warning. See Connecting Email above to fix this.
Pick accounts (if using Social Media type)
Select the social accounts you want to target. For Lead Lists, this step is skipped.
Step 2 — Outreach configuration
Set outreach channels and sender
Confirm which channels are active and select the Send From address (for email) or Twilio number (for SMS).
Select lead groups
Choose which lead groups (lists) to include in this campaign. These map to your saved lead segments in the CRM.
Configure AI generation (optional)
Expand the AI Generation section and enter a prompt describing your outreach goal (e.g. “Cold outreach to SaaS founders about our analytics feature”). OutboundHQ uses this to write personalised copy per contact.
Click Next — generation starts immediately
Clicking Next triggers background AI generation and closes the modal. You're taken directly to the campaign detail page where you can monitor generation progress, review copy, and launch the campaign.